Tag Archives: mark

3D printed bowl

A quick post on a little project I’ve just finished.
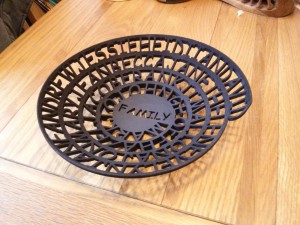
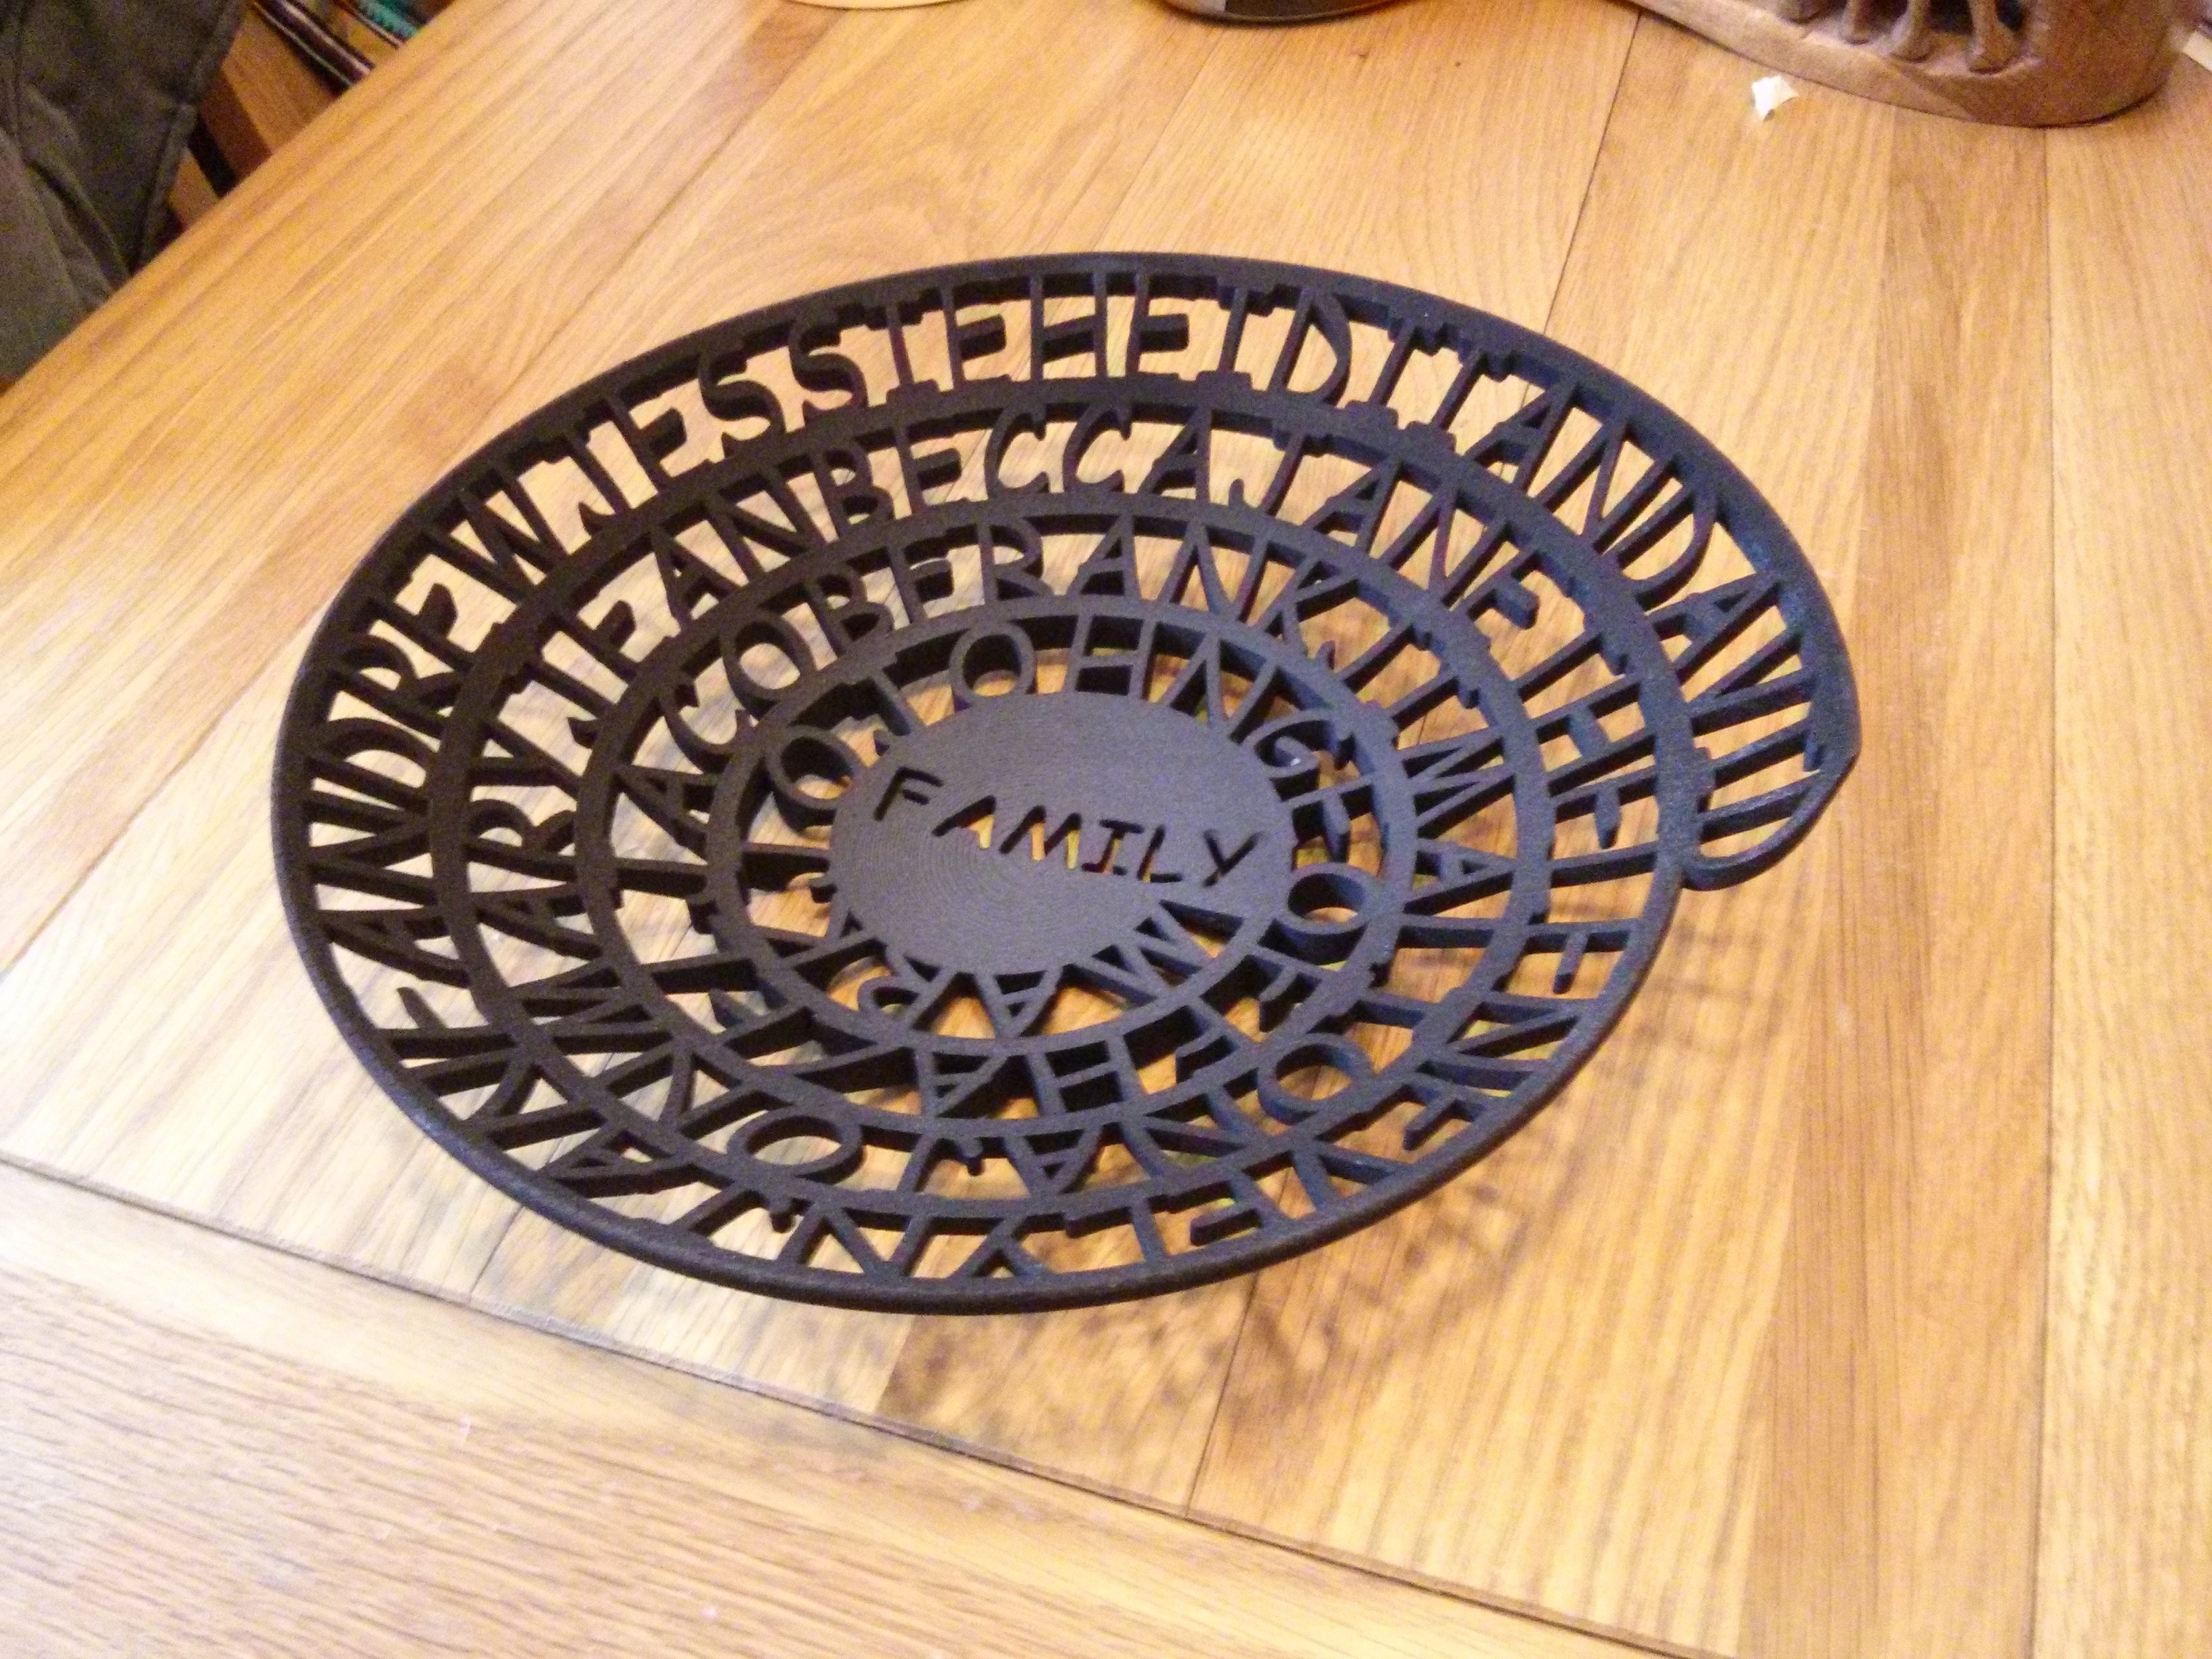
Inspired by the 3D printed ‘LightPoems’ on Shapeways, I’ve created a 3D printed bowl for a present for my uncle. Rather than spelling out a poem, this bowl contains the names of family members.

20130613-212442.jpg

It was printed by “Shapeways” in their “strong black and flexible“.
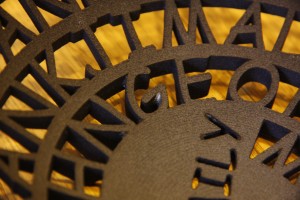
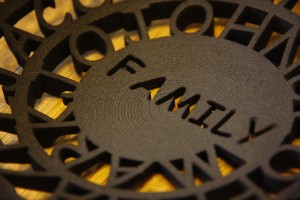
It turns out the ‘black’ part of that materials name comes from the dye used, rather than it being inherent in the material. My only criticism of the print is that some small areas are slightly grey or still white. the build layers are also visible in some places, but I don’t think it spoils the bowl’s appearance.

_MG_9807 _MG_9806

As a reference point, this print is close to the  Shapeways maximum print size for black prints of 230x180x320mm?. It cost €154, which is a little expensive for a bowl but very cheap for a 3D printed part this large and hopefully will be an interesting bespoke present.

20130613-212442.jpg


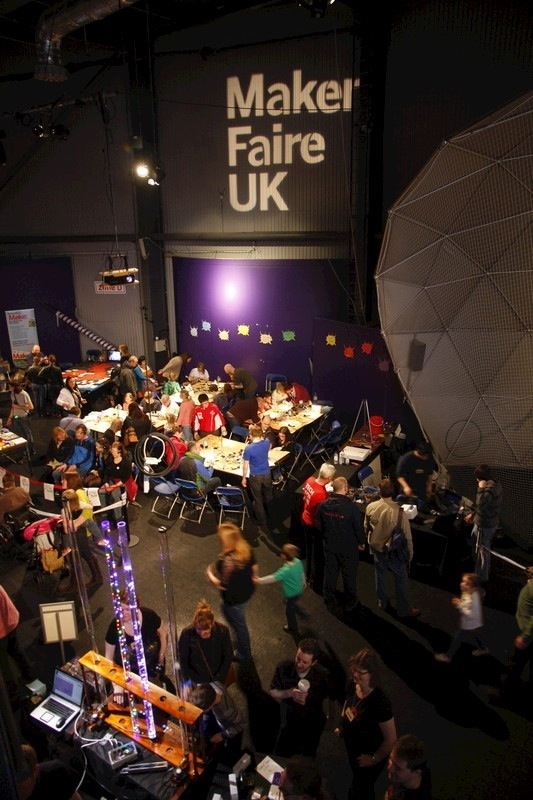
Newcastle Maker Faire UK 2013

Newcastle Maker Faire

20130612-181143.jpg

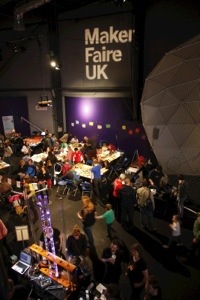
We recently attended Newcastle Maker Faire, here are the highlights for us:

20130612-181335.jpg

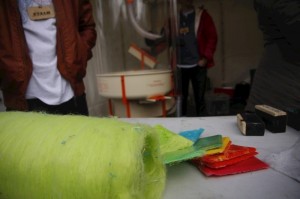
The Polyfoss Factory were demonstrating a very interesting process: they feed recycled and virgin plastic pellets into a candy floss machine to make a new fibrous material. The new material could then be used in low temperature, low pressure tooling (such as in a modified sandwich press) to form new products.


20130612-181329.jpg

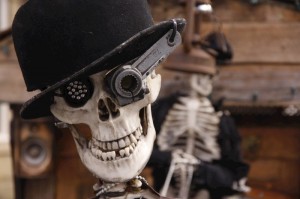
This cool character was roaming around the courtyard outside (built buy Alfonso Milanos)

20130612-181324.jpg

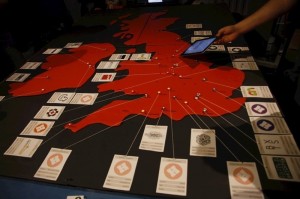
UK hackerspaces were represented by the Hackspace Foundation. They were building up a map of hackerspace like groups, their members and the people who wanted to be part of a group. Embarrassingly Hitchin wasn’t part of their database so wasn’t on the map, but we soon sorted that out.


20130612-181318.jpg

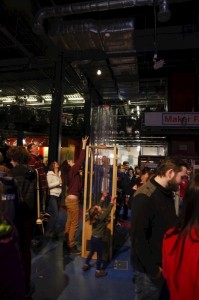
In the centre of the main hall was a ‘make your own jellyfish’ bench. The jellyfish were simply muffin papers? with ribbon attached, but the exciting part for the kids was loading the creation into a ‘windtunnel’ and seeing them float away. We were inspired by the interaction of craft and simple aerodynamics. I can see a craft/wind based project appearing on a Jelly and Marshmallows Maker Faire stand in future….


20130612-181312.jpg

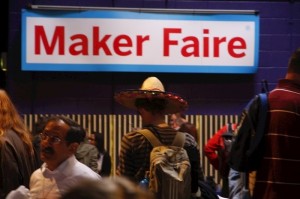
Makerfaires tend to attract some eccentric ‘costumes’. We saw more than our fair share of mad scientists in white coats and steam punk goggles, but one of the highlights for us was this scrolling LEDs sombrero.


20130612-181306.jpg20130612-181300.jpg20130612-181255.jpg

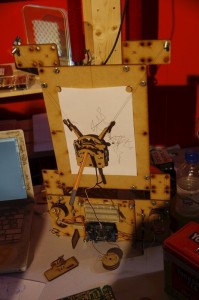
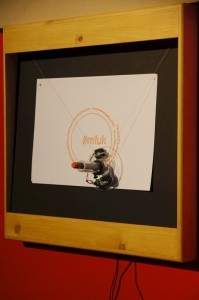
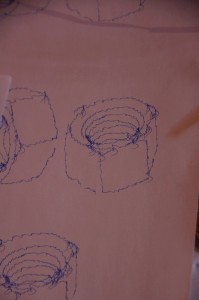
Matt Venn of the Jam Jar collective was showing off an open source, laser cut drawbot. We loved the quirky drawing style mixing jittery lines with perfect perspective.

20130612-181251.jpg

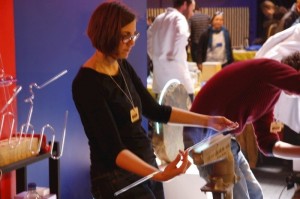
Sarah Blood was demonstrating her amazing glass bending skills, forming neon tubes over a gas flame. The few lucky people who got to have a go confirmed how difficult it is to get a good looking shape.


20130612-181247.jpg

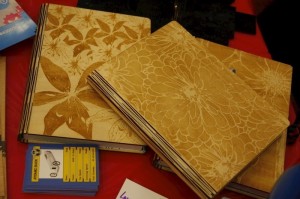
These cool notebooks were laser etched from plywood by Patrick Fenner. We were impressed by his human powered trike at the last Newcastle Maker Faire, and this year he was showing off the nifty laser cut clip together cases he’s designed. We were impressed by the engineering he’s put into those little clips. Many people would have just drawn a clip that ‘looks right’ then made, tested and developed it through trial and error. Patrick’s analysed the forces and stresses associated with clips and through some basic tweaks to the design created not only a simple clip that’s more robust and easier to use but also a set of equations and guidelines for others to follow. His work on plastic clips is documented on his website here.


20130612-181242.jpg

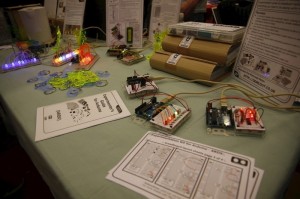
Our friends at Oomlout were there again showing off their kits (plus their excellent documentation).


20130612-181237.jpg

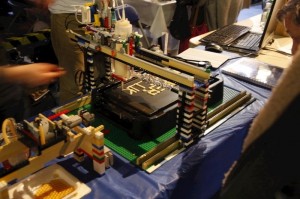
Pancake bot: food, 3d printing and Lego. Brilliant.


20130612-181231.jpg

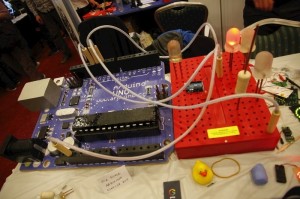
A giant Arduino Uno microcontroller and breadboard. That works. Mad.


20130612-181226.jpg

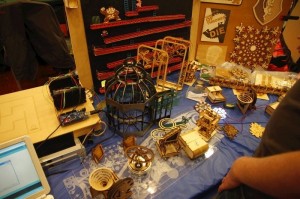
I’ve been following Martins laser cutting blog for a while now, so it was great to meet him in person and play with a few of his neat wooden projects.


20130612-181211.jpg20130612-181216.jpg20130612-181219.jpg

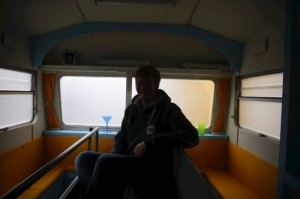
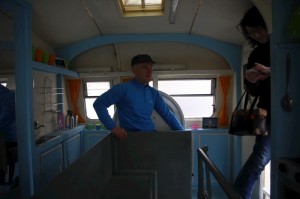
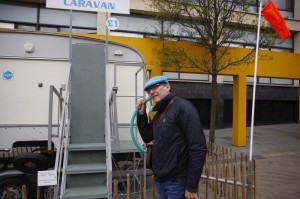
Rex Garrod and Tim Hunkins secret life of machines series (broadcast in the 80s) probably contributed to me becoming an engineer. So it was a real thrill to meet Tim at Derby Mini Maker Faire and find he was a nice guy in real life. He brought a weird caravan/spaceship ride to Newcastle, similar to a ‘Madhouse’ fairground ride. The outer caravan rotated around a central bench seat, creating the weird feeling of being upside down whilst you were perfectly upright. We also liked the simple intercom system of a length of flexible hose :-)


20130612-181204.jpg

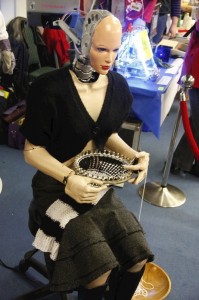
One of the freakier pieces of robotics was this mannequin knitting machine called Agnes. Using human like movements it knitted continuous woolen scarf.


20130612-181159.jpg20130612-181153.jpg

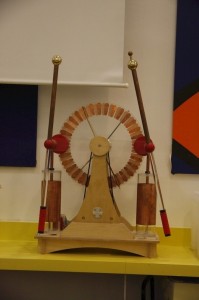
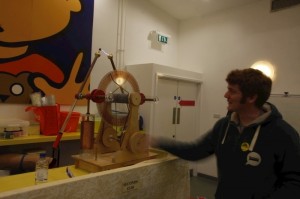
As big fans of anything that creates sparks, we were excited to spot this wimshurst generator hiding away in one of the halls. It was actually a permanent Life Centre demonstration model, rather than a creation for Maker Faire but never the less we were thrilled to be allowed to play with it. Having made a few static generators ourselves, we were impressed by how it ‘just worked’ with no cleaning or fiddling despite having sat ignored on a shelf for quite a while.

Engineers Without Borders Bulb Logo

20130622-081847.jpg

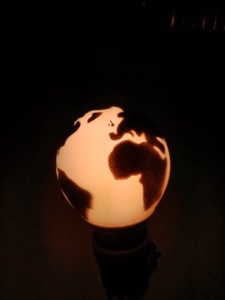
Andrew Lamb, my best mate from university and head of Engineers without Borders, asked if there was a way to create a ‘real’ version of their logo. Though it sounded like an interesting challenge and agreed to give It a go.
My first thought was to use an EMSL’s Egg-Bot kit to draw the logo onto a bulb. I showed Andrew the typical output of Egg-Bot and we were both concerned the streaky finish could spoil the look of the logo.
Eggbot with egg
Egg-bot operational!

Idea 2 was to use a vinyl cutter to slice the shape of the landmasses from sticky backed vinyl so they could be stuck to a bulb. I quickly realised that it would be very difficult to apply 2D stickers to a very 3D bulb without creating creases and wrinkles.
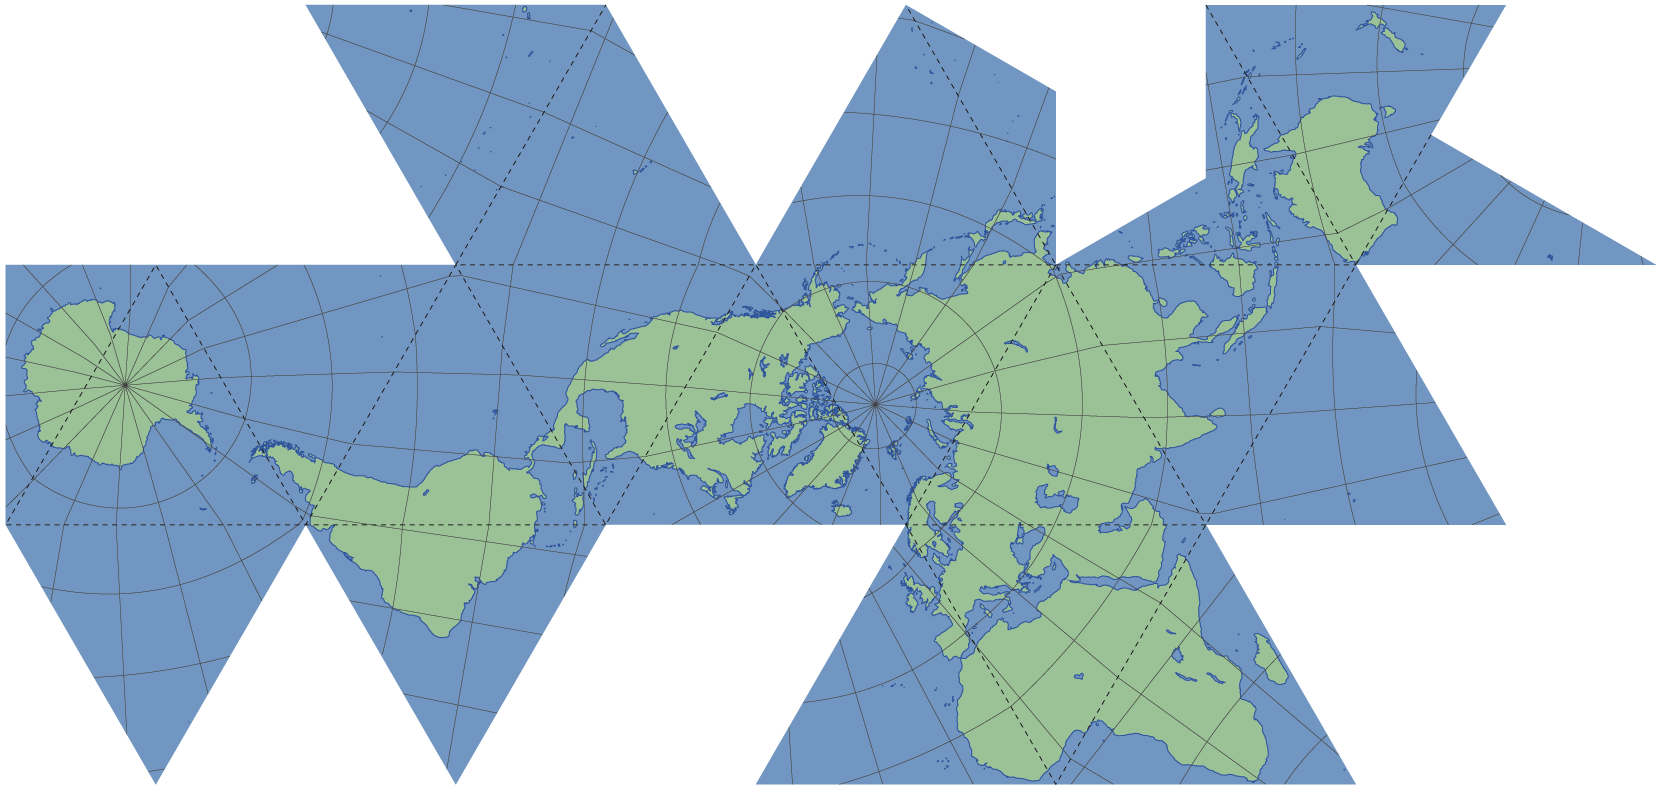
Idea 3 was to create a mask such that the bulb could be painted without requiring too much skill. The painting part seemed plausible, the challenge was how to create an accurate mask that could be quickly applied to an actual bulb. Thinking about different mask materials I’d seen before, I assessed how suitable they were: wax-too difficult to apply, masking tape – wont conform, vinyl-same, silicone/rubber-might work but could distort, rigid stencil -might work but might not give a sharp cutoff. So painting through a silicone or a rigid stencil seemed worth trying but both sounded difficult to form into the correct shape.

Now if I was an artist, I probably would have mixed up some latex, formed a rubber shell and skilfully attacked it with a scalpel. But I’m an engineer, so I decided to 3d print it. I also don’t like repeating what others have done, so I started looking around for similar projects to learn from. That’s when I found TBuser’s Two Colour Globe on Thingiverse.

That was a brilliant starting point, as I now had a nice 3D CAD model of the world, with the land masses as a separate body so I could digitally manipulate it to turn it into a mask.
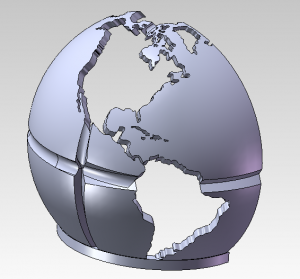
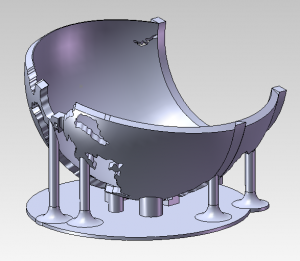
Whilst I’m reasonably proficient with a few CAD program’s, 3D surface modelling is definitely not my thing, so it took several Iterations of computer program and technique to create the right shape that would be useable, paintable and printable on my printrbot.
1 2 3


For the last print I had designed my own support structure to minimise the print time but allow the detailed shape to be printable. With some fettling I got the mask to approximately conform to a light bulb, but the print resolution and slight warping meant that it wasn’t a tight fit on the light bulb and I was worried that there would be too much paint bleed.

The Printrbot version was good enough to give me some confidence that the basic approach was sound, even if the output using this exact method wasn’t good enough. So I uploaded the design to shapeways and was pleased to see that my Printrbot optimised design would only cost ~€30. Knowing that I could reduce the cost with some optimisation, and incorporating what I’d learnt from my prints, I set about redesigning the mask.
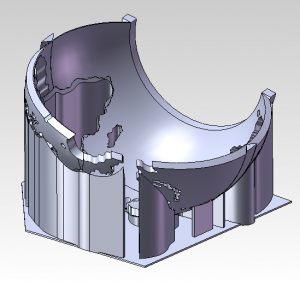
4

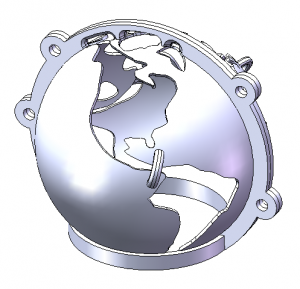
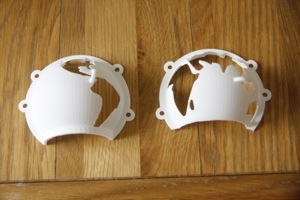
This time the mask was a thin shell with local stiffening. I added ribs around the sides and base, and included small bridges where two ‘seas’ nearly met to increase the stiffness but keep the material volume low. The new design cost ~€18 for both parts and took two weeks to arrive.
_MG_9781


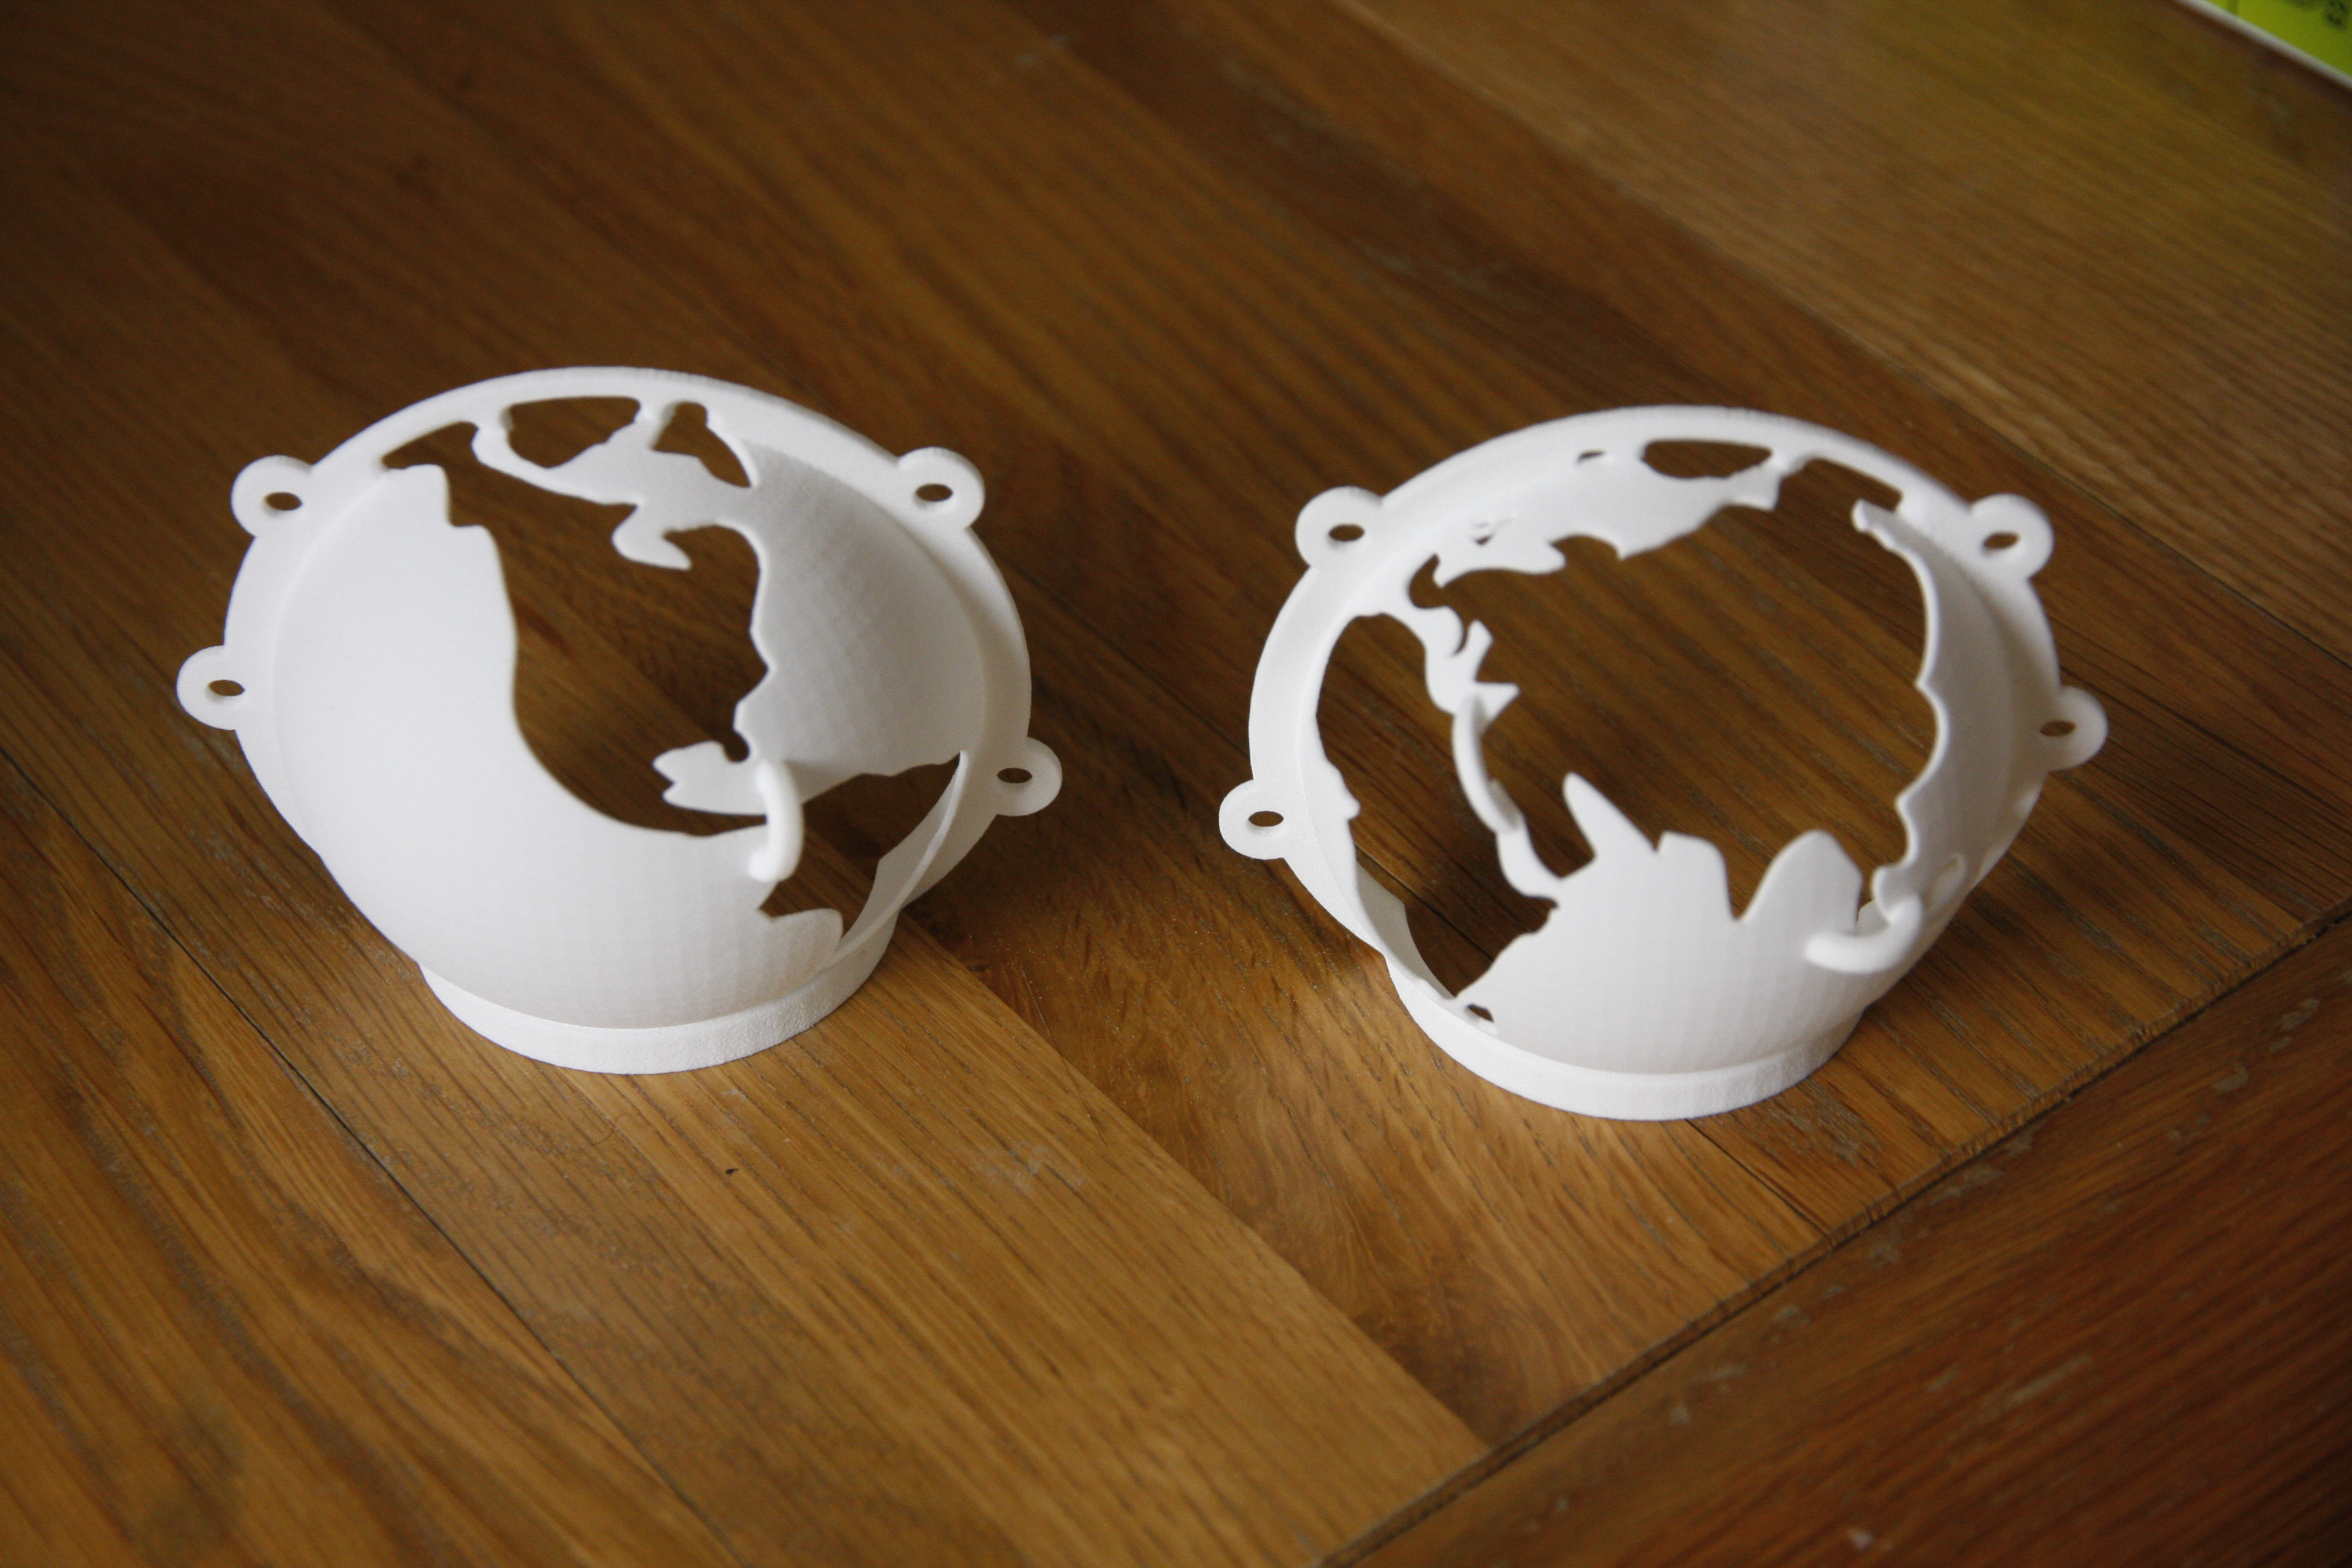
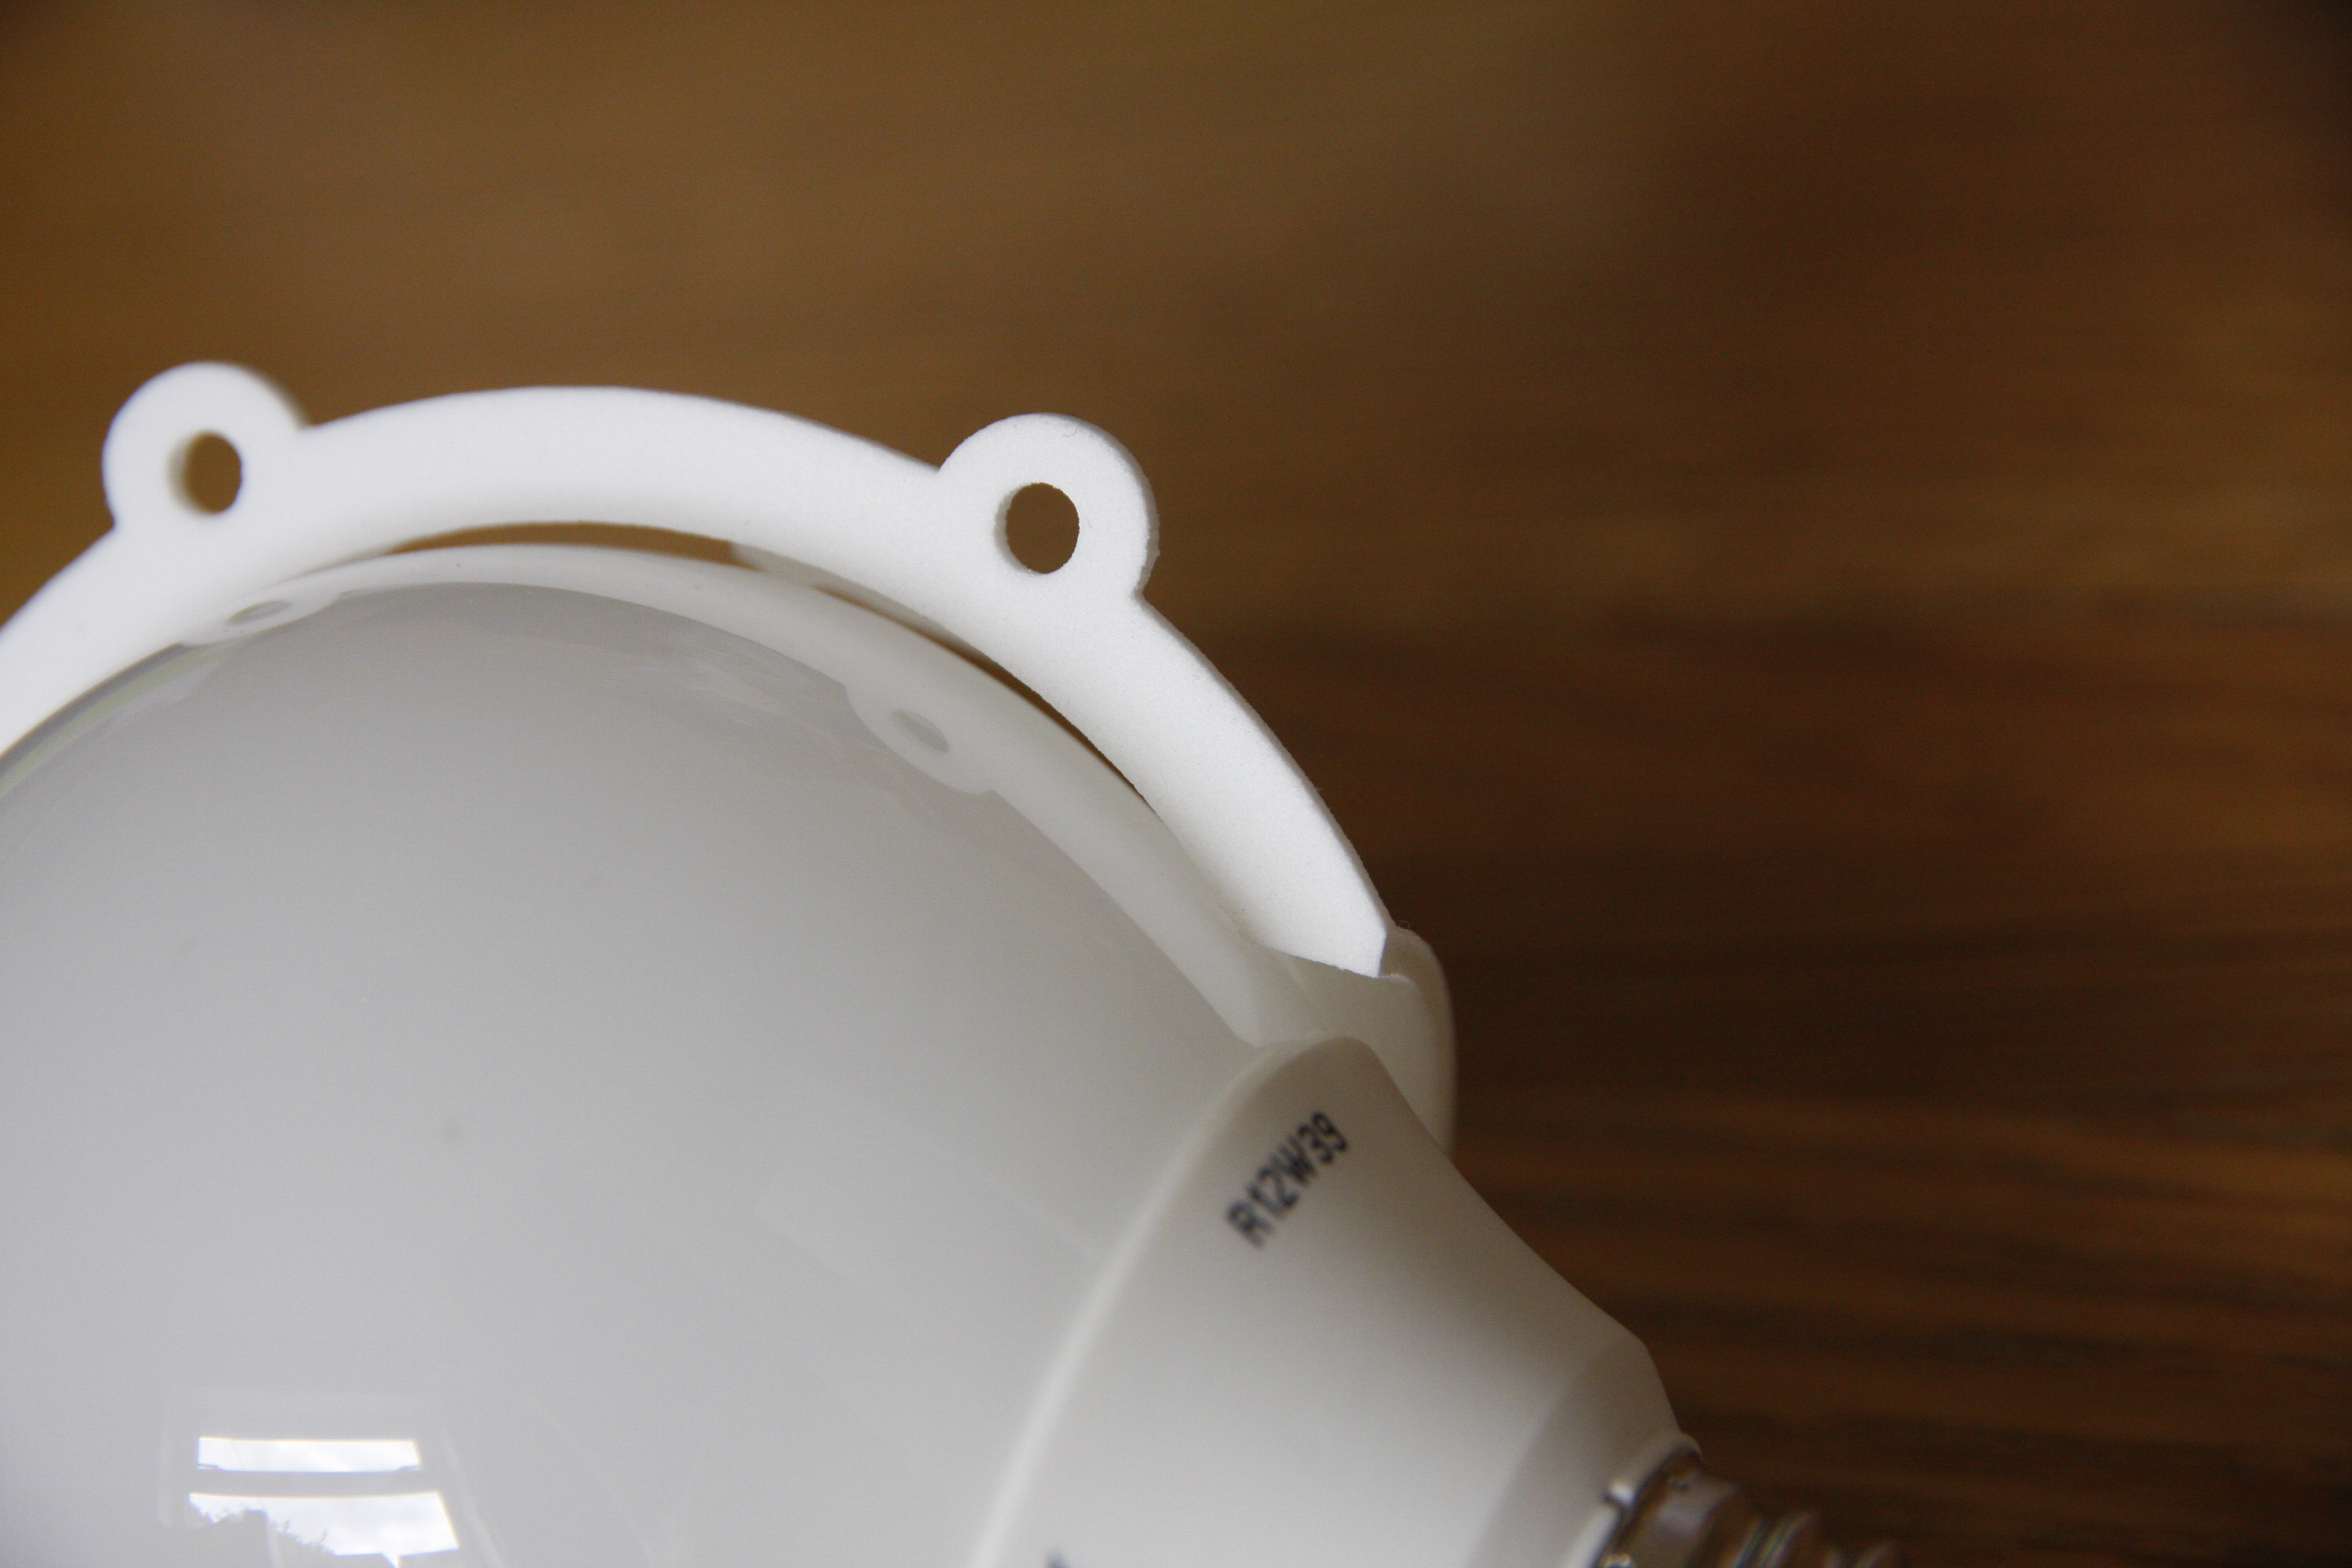
The prints arrived well packed and n good condition. I was very pleased with the resolution and the ‘strong, white and flexible’ material lived up to its name. Initially it looked like they would be perfect, but a test fit to a bulb showed that hadn’t been careful enough with my measurements. Whilst the energy efficient bulbs I’d bought we’re almost spherical, the last bit of the bulb connected to the base is much closer to conical, so the mask still didn’t fit very tightly.
 

_MG_9787

It was close enough to make fit with a bit of fettling though. Attacking the mask with first a file, then a Drexel ‘milling’ bit, I removed the rib around the base and added clearance around the offending area. The mask was still a bit looser fitting than I wanted but was definitely good enough to try painting.
20130622-082227.jpg

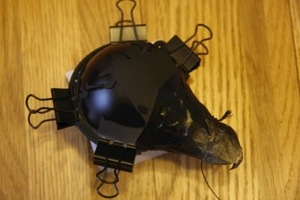
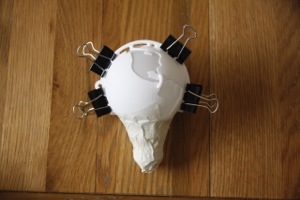
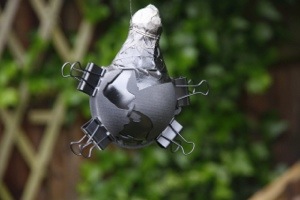
A bit of masking tape and some bulldog clips held the mask in place and protected the rest of the bulb during spraying.
 

20130622-082310.jpg20130622-082304.jpg

20130622-082258.jpg20130622-082253.jpg

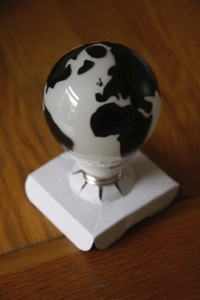
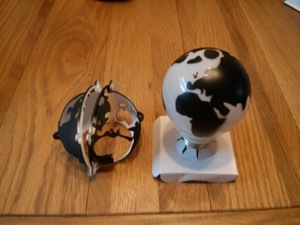
I was very pleased with how the painting came out. It’s not perfect, and the southern hemisphere is a bit blurry around the edges, but it looks good and with a little refinement could be a practical way of making many bulbs.
20130612-002050.jpg 20130612-002126.jpg

What’s next? I’m happy to have gotten to this point, so its up to EWB what happens next. If they like it and want more bulbs making then Ill probably get another mask made. The shape needs tweaking to fit better, but I think the biggest change will be the material. Shapeways have just released a “new material” ‘for evaluation’ that is quite stretchy. This could allow me to combine my initial silicone mask idea with 3d printing, getting a complete mask that conforms well to slight variations in bulb shape and eliminates the blurry edges. This approach could have other interesting applications so it could be a good experiment in itself.