Andrew Lamb, my best mate from university and head of Engineers without Borders, asked if there was a way to create a ‘real’ version of their logo. Though it sounded like an interesting challenge and agreed to give It a go.
My first thought was to use an EMSL’s Egg-Bot kit to draw the logo onto a bulb. I showed Andrew the typical output of Egg-Bot and we were both concerned the streaky finish could spoil the look of the logo.


Idea 2 was to use a vinyl cutter to slice the shape of the landmasses from sticky backed vinyl so they could be stuck to a bulb. I quickly realised that it would be very difficult to apply 2D stickers to a very 3D bulb without creating creases and wrinkles.
Idea 3 was to create a mask such that the bulb could be painted without requiring too much skill. The painting part seemed plausible, the challenge was how to create an accurate mask that could be quickly applied to an actual bulb. Thinking about different mask materials I’d seen before, I assessed how suitable they were: wax-too difficult to apply, masking tape – wont conform, vinyl-same, silicone/rubber-might work but could distort, rigid stencil -might work but might not give a sharp cutoff. So painting through a silicone or a rigid stencil seemed worth trying but both sounded difficult to form into the correct shape.
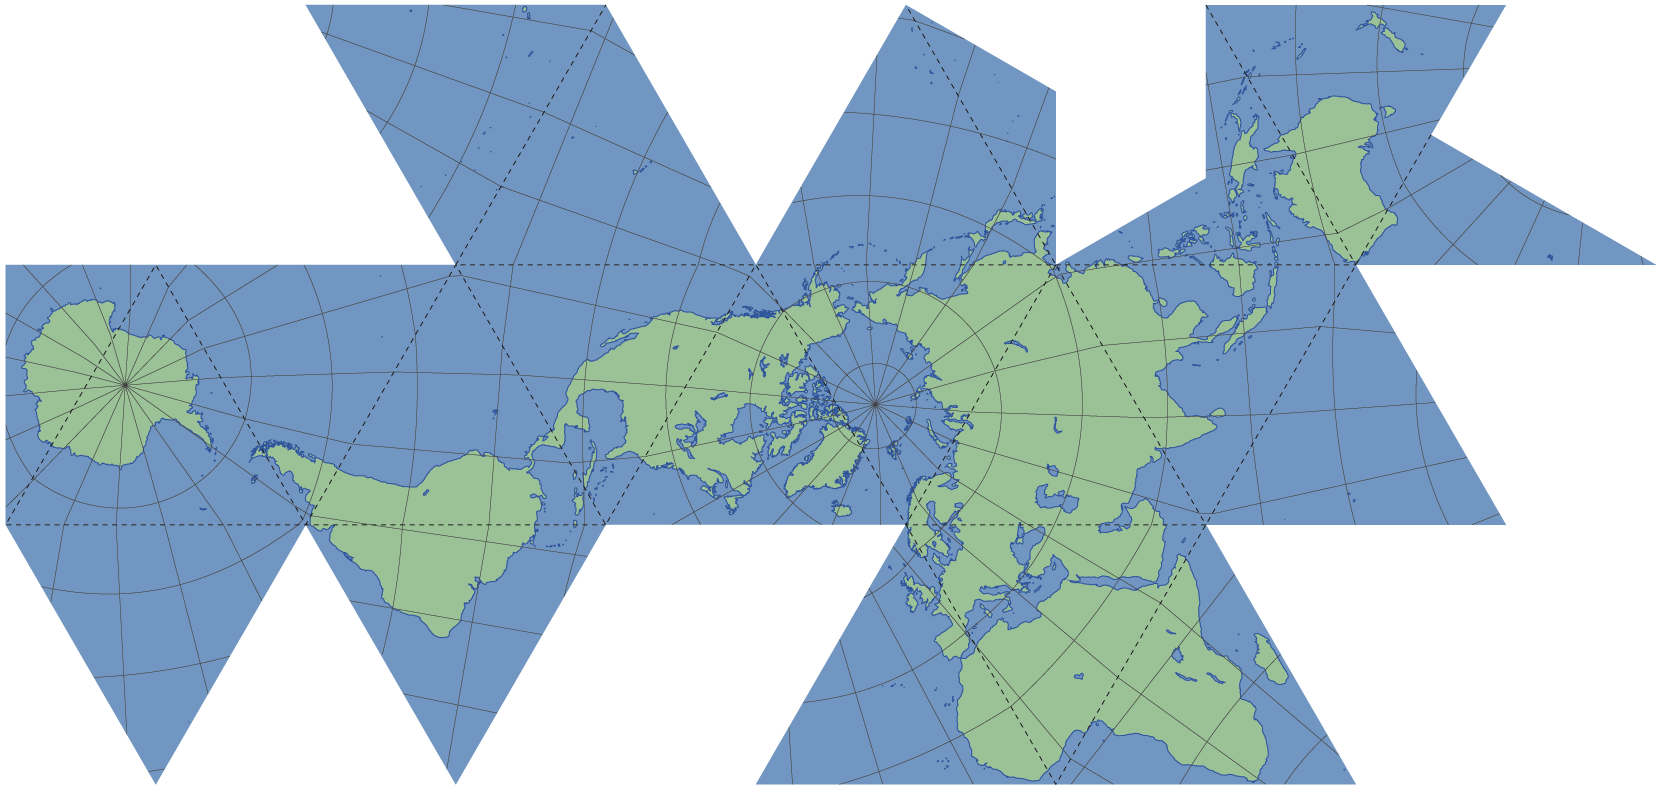
Now if I was an artist, I probably would have mixed up some latex, formed a rubber shell and skilfully attacked it with a scalpel. But I’m an engineer, so I decided to 3d print it. I also don’t like repeating what others have done, so I started looking around for similar projects to learn from. That’s when I found TBuser’s Two Colour Globe on Thingiverse.

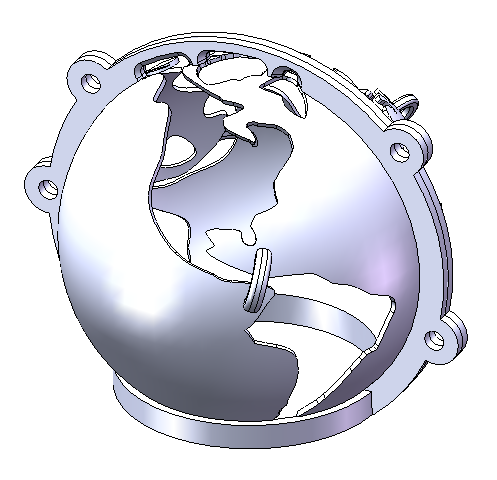
That was a brilliant starting point, as I now had a nice 3D CAD model of the world, with the land masses as a separate body so I could digitally manipulate it to turn it into a mask.
Whilst I’m reasonably proficient with a few CAD program’s, 3D surface modelling is definitely not my thing, so it took several Iterations of computer program and technique to create the right shape that would be useable, paintable and printable on my printrbot.
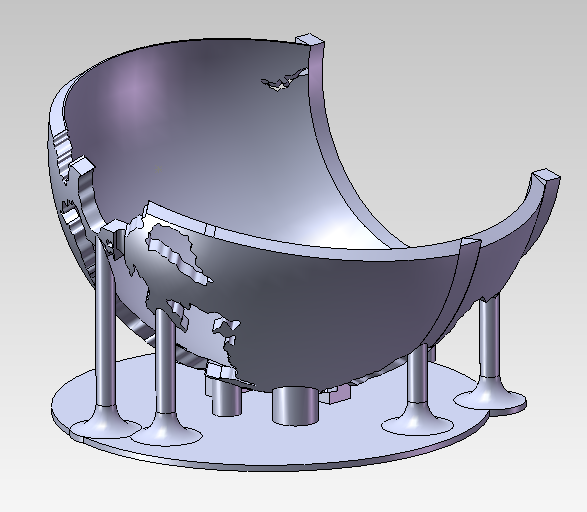
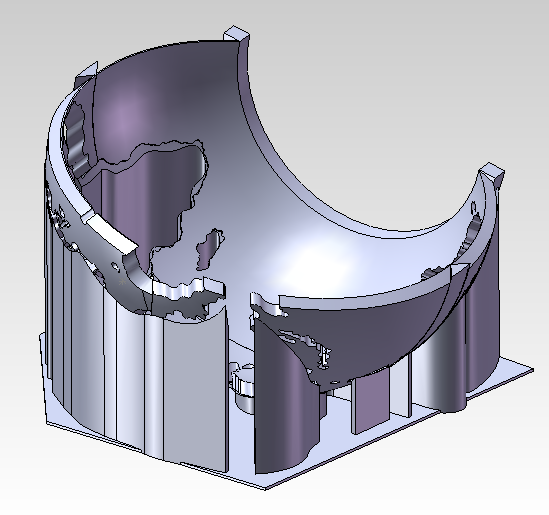
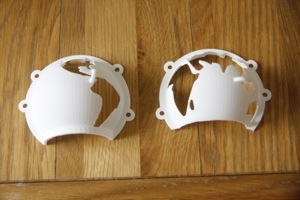
For the last print I had designed my own support structure to minimise the print time but allow the detailed shape to be printable. With some fettling I got the mask to approximately conform to a light bulb, but the print resolution and slight warping meant that it wasn’t a tight fit on the light bulb and I was worried that there would be too much paint bleed.
The Printrbot version was good enough to give me some confidence that the basic approach was sound, even if the output using this exact method wasn’t good enough. So I uploaded the design to shapeways and was pleased to see that my Printrbot optimised design would only cost ~€30. Knowing that I could reduce the cost with some optimisation, and incorporating what I’d learnt from my prints, I set about redesigning the mask.
This time the mask was a thin shell with local stiffening. I added ribs around the sides and base, and included small bridges where two ‘seas’ nearly met to increase the stiffness but keep the material volume low. The new design cost ~€18 for both parts and took two weeks to arrive.
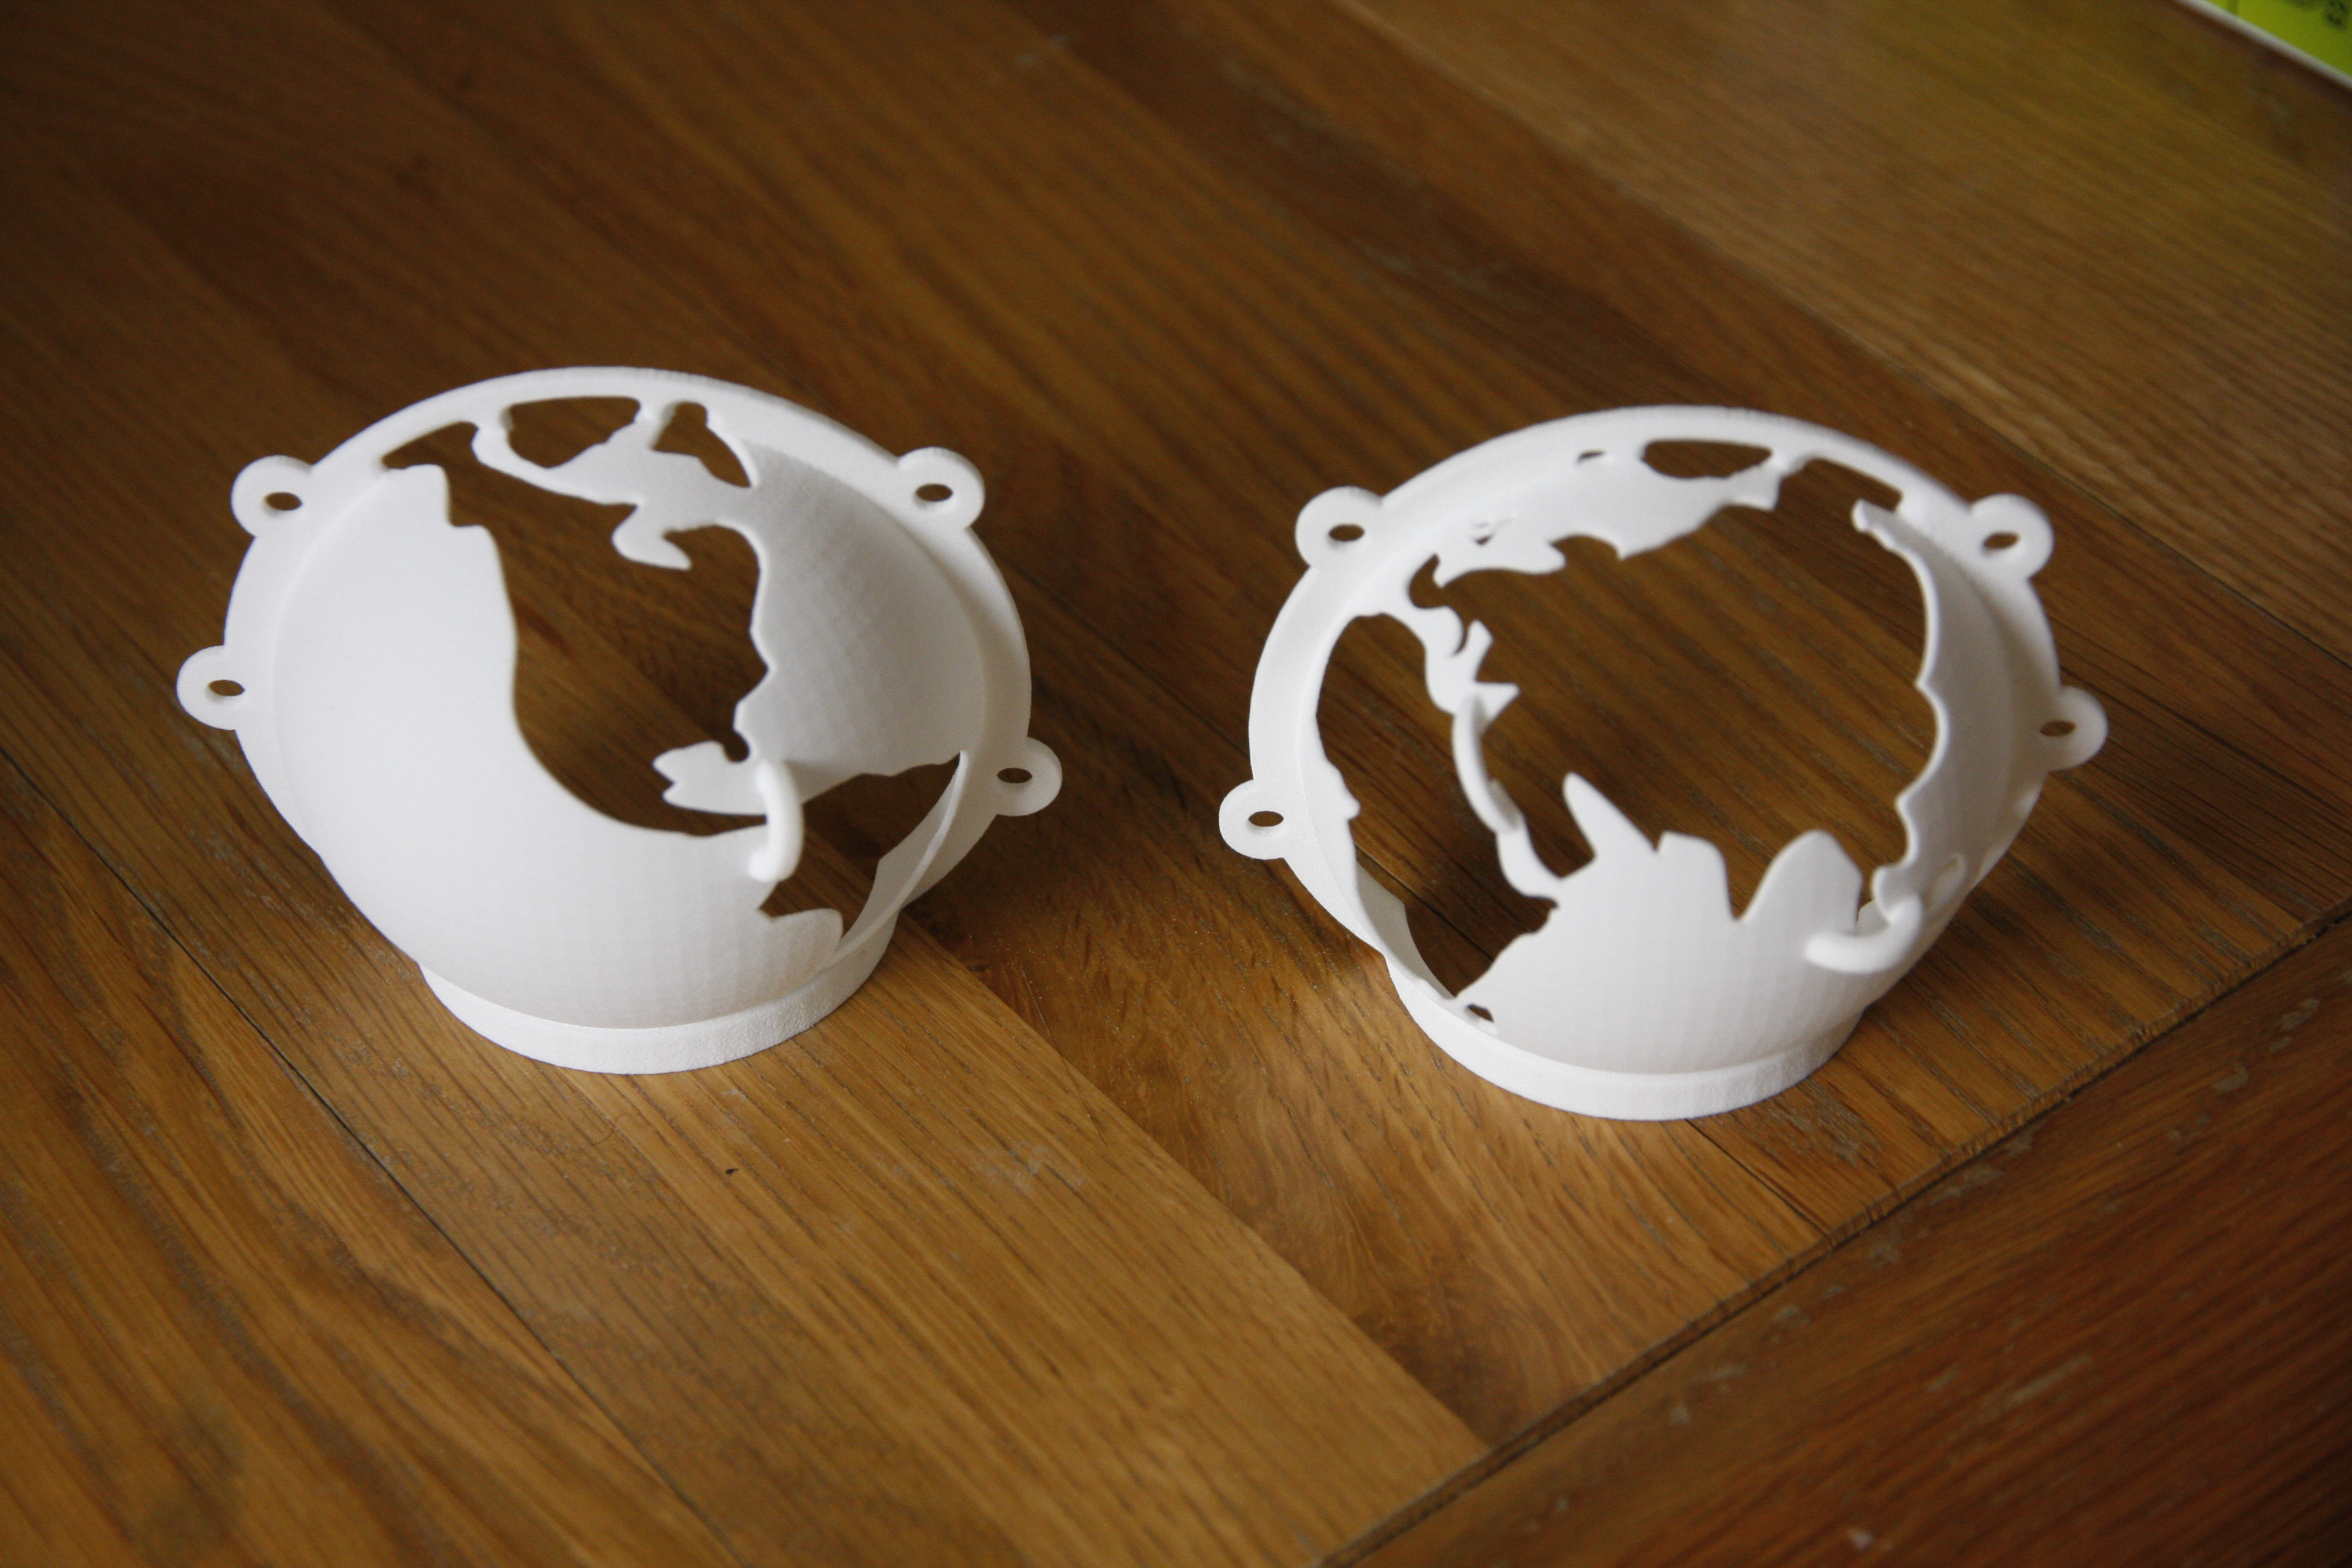
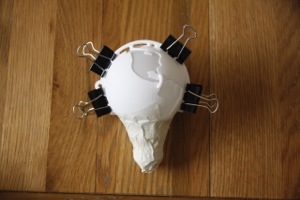
The prints arrived well packed and n good condition. I was very pleased with the resolution and the ‘strong, white and flexible’ material lived up to its name. Initially it looked like they would be perfect, but a test fit to a bulb showed that hadn’t been careful enough with my measurements. Whilst the energy efficient bulbs I’d bought we’re almost spherical, the last bit of the bulb connected to the base is much closer to conical, so the mask still didn’t fit very tightly.
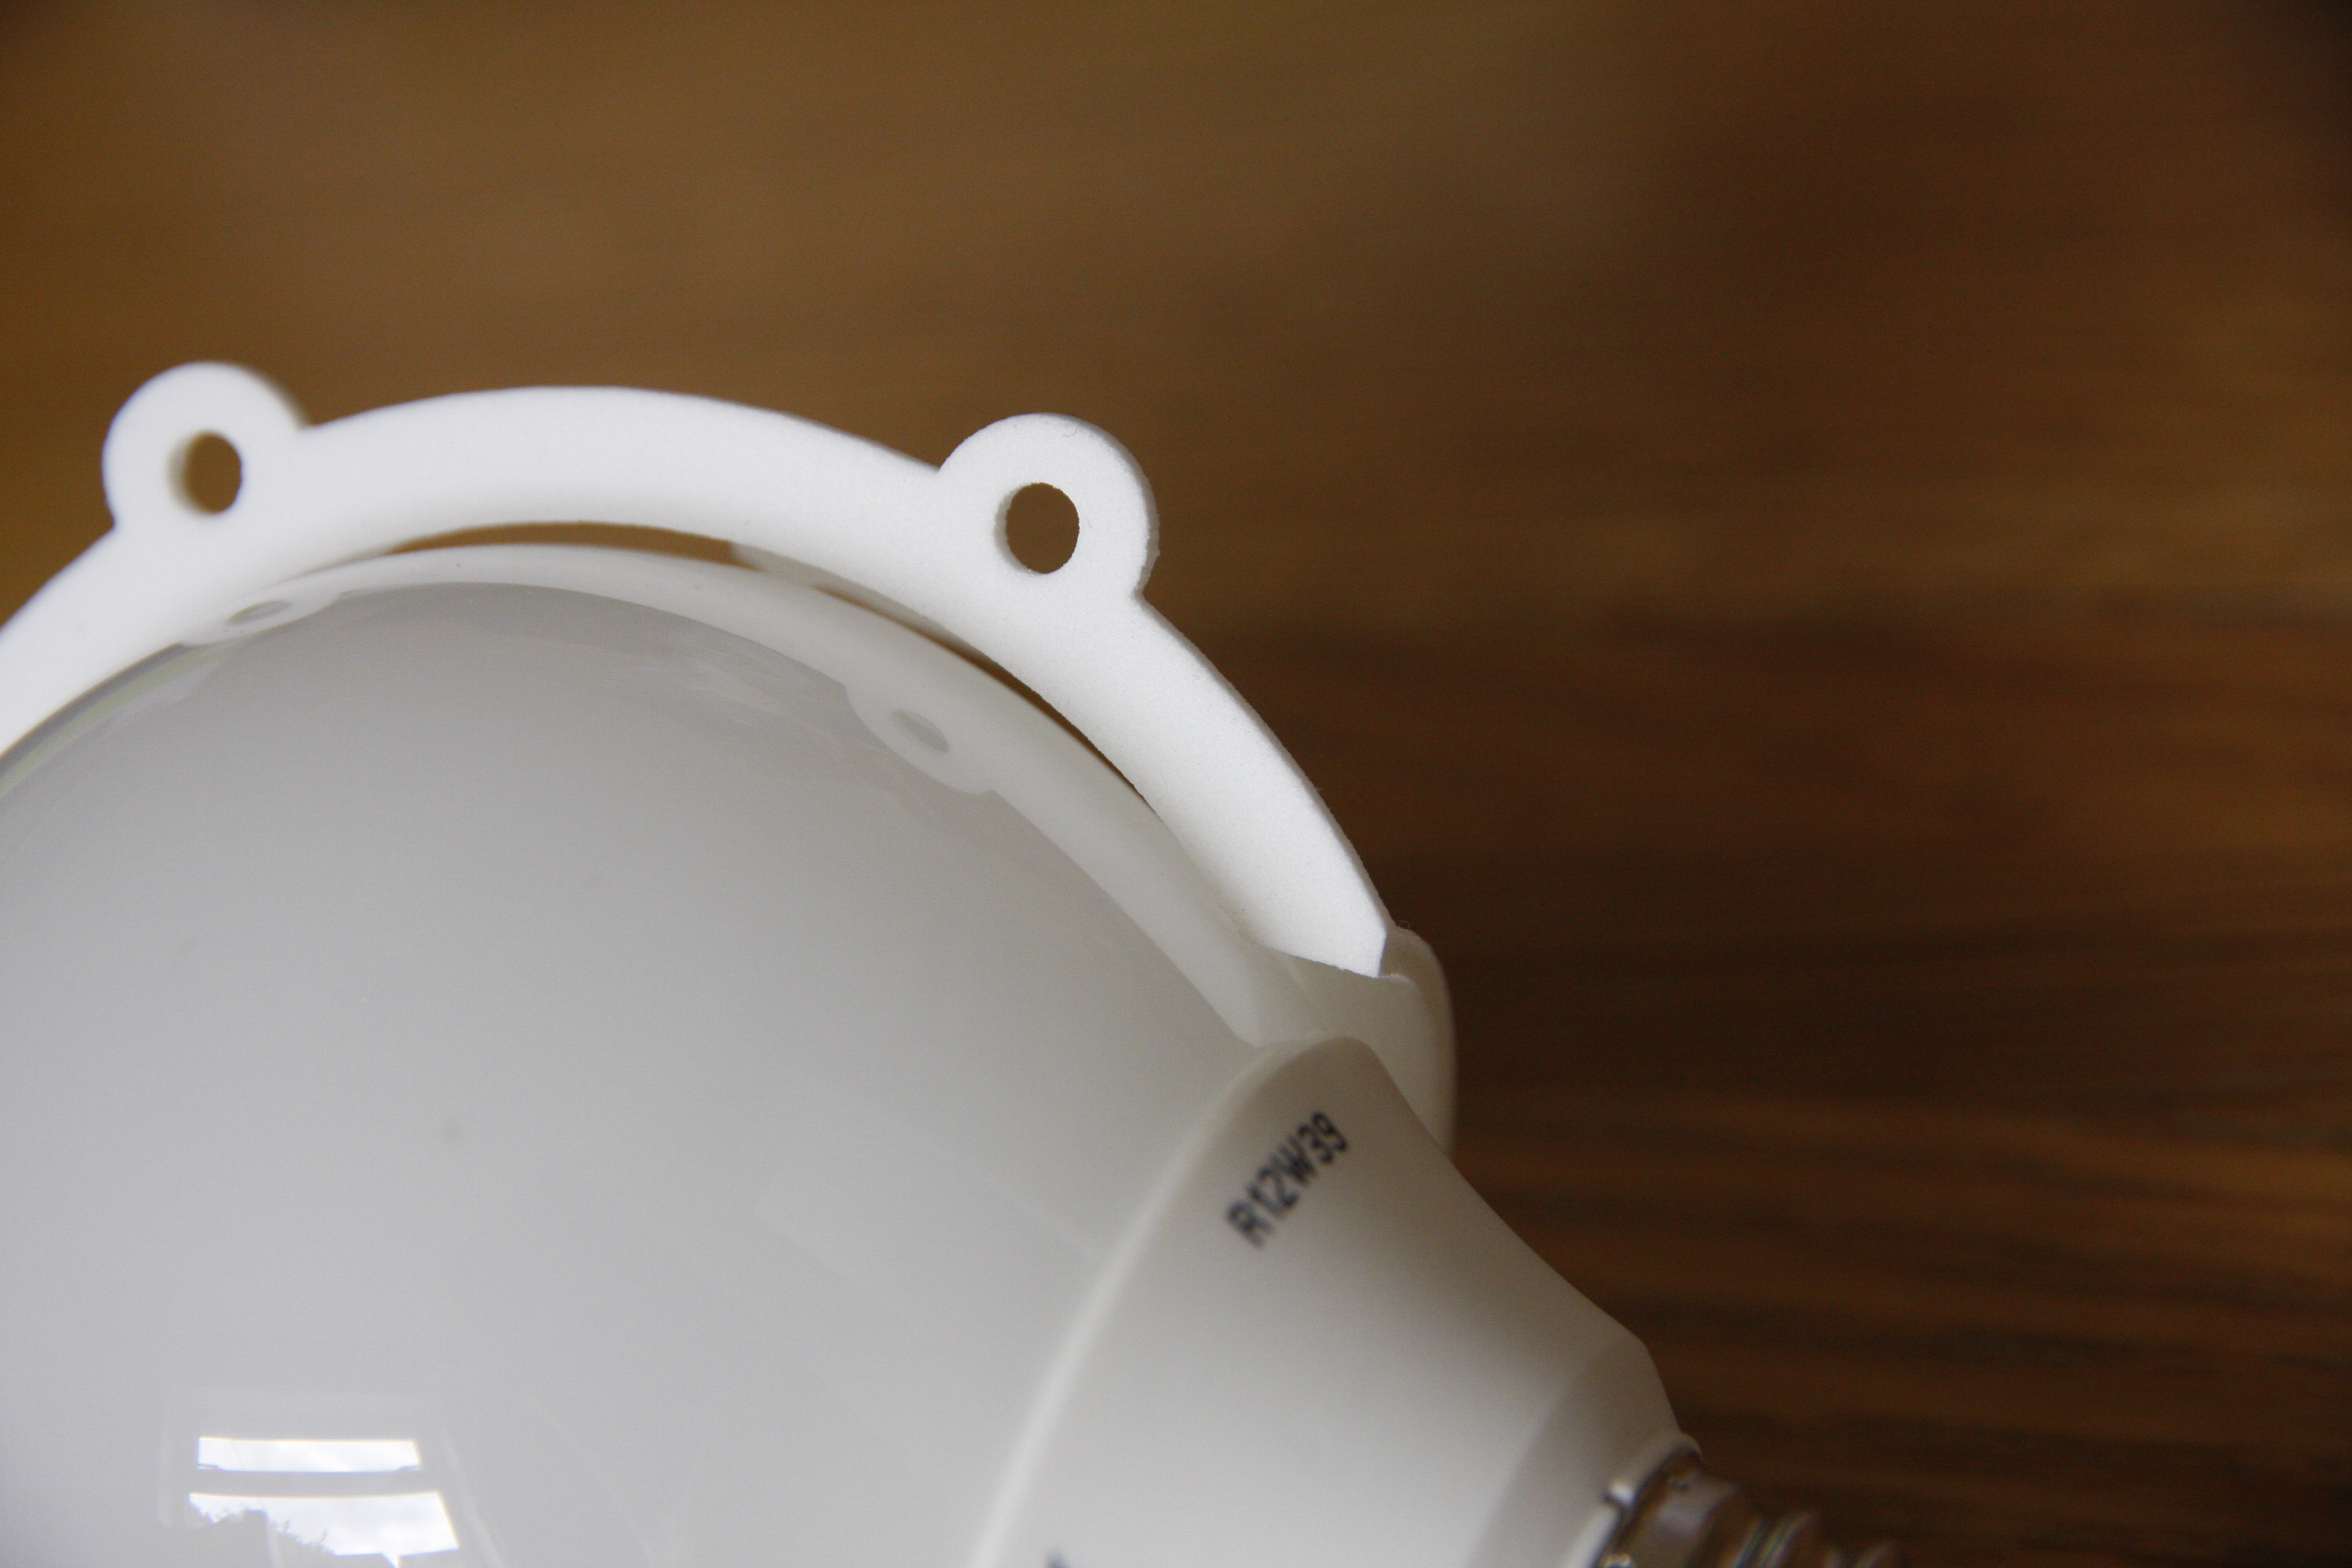
It was close enough to make fit with a bit of fettling though. Attacking the mask with first a file, then a Drexel ‘milling’ bit, I removed the rib around the base and added clearance around the offending area. The mask was still a bit looser fitting than I wanted but was definitely good enough to try painting.
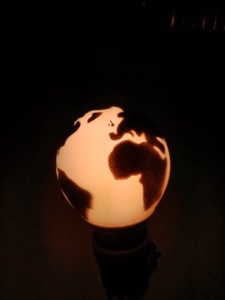
A bit of masking tape and some bulldog clips held the mask in place and protected the rest of the bulb during spraying.


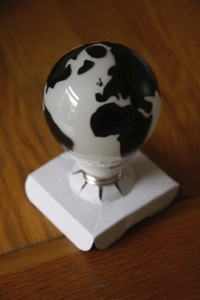
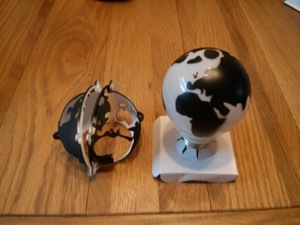
I was very pleased with how the painting came out. It’s not perfect, and the southern hemisphere is a bit blurry around the edges, but it looks good and with a little refinement could be a practical way of making many bulbs.
What’s next? I’m happy to have gotten to this point, so its up to EWB what happens next. If they like it and want more bulbs making then Ill probably get another mask made. The shape needs tweaking to fit better, but I think the biggest change will be the material. Shapeways have just released a “new material” ‘for evaluation’ that is quite stretchy. This could allow me to combine my initial silicone mask idea with 3d printing, getting a complete mask that conforms well to slight variations in bulb shape and eliminates the blurry edges. This approach could have other interesting applications so it could be a good experiment in itself.