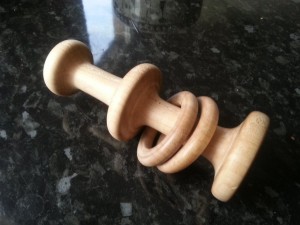
Baby’s rattle turned from one piece of sycamore, with captive rings and beeswax finish.
When I inherited a small wood turning lath from my grandad, I was very keen to try my hand at turning a piece with a ‘captive ring’, a turned item made from one piece of wood but with an interlocking ring. A baby’s rattle looked like a nice project to focus on.
A friend of mine makes exquisite wooden guitars “link” and offered me some off cuts for turning. After doing some research into suitable woods for a rattle, I selected a piece of sycamore to start from. Sycamore is non toxic and fine grained so shouldn’t create splinters. I found “these” “web” “pages” useful when research wood toxicity.
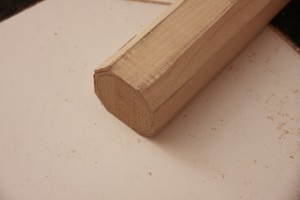
I started by cutting the blank to size and removing the corners with a jigsaw. This made it easier to fit on my little lathe and reduced the vibrations associated with turning a square part.
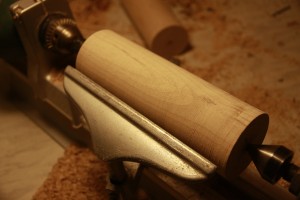
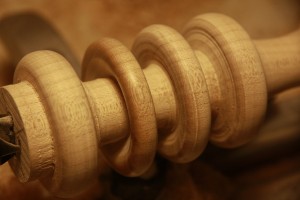
Next I reduced it down to a slightly oversize a cylinder, marked on the design, and roughly cut out the profile.

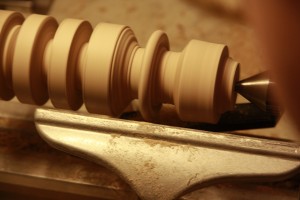
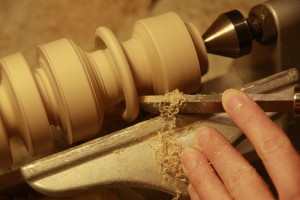
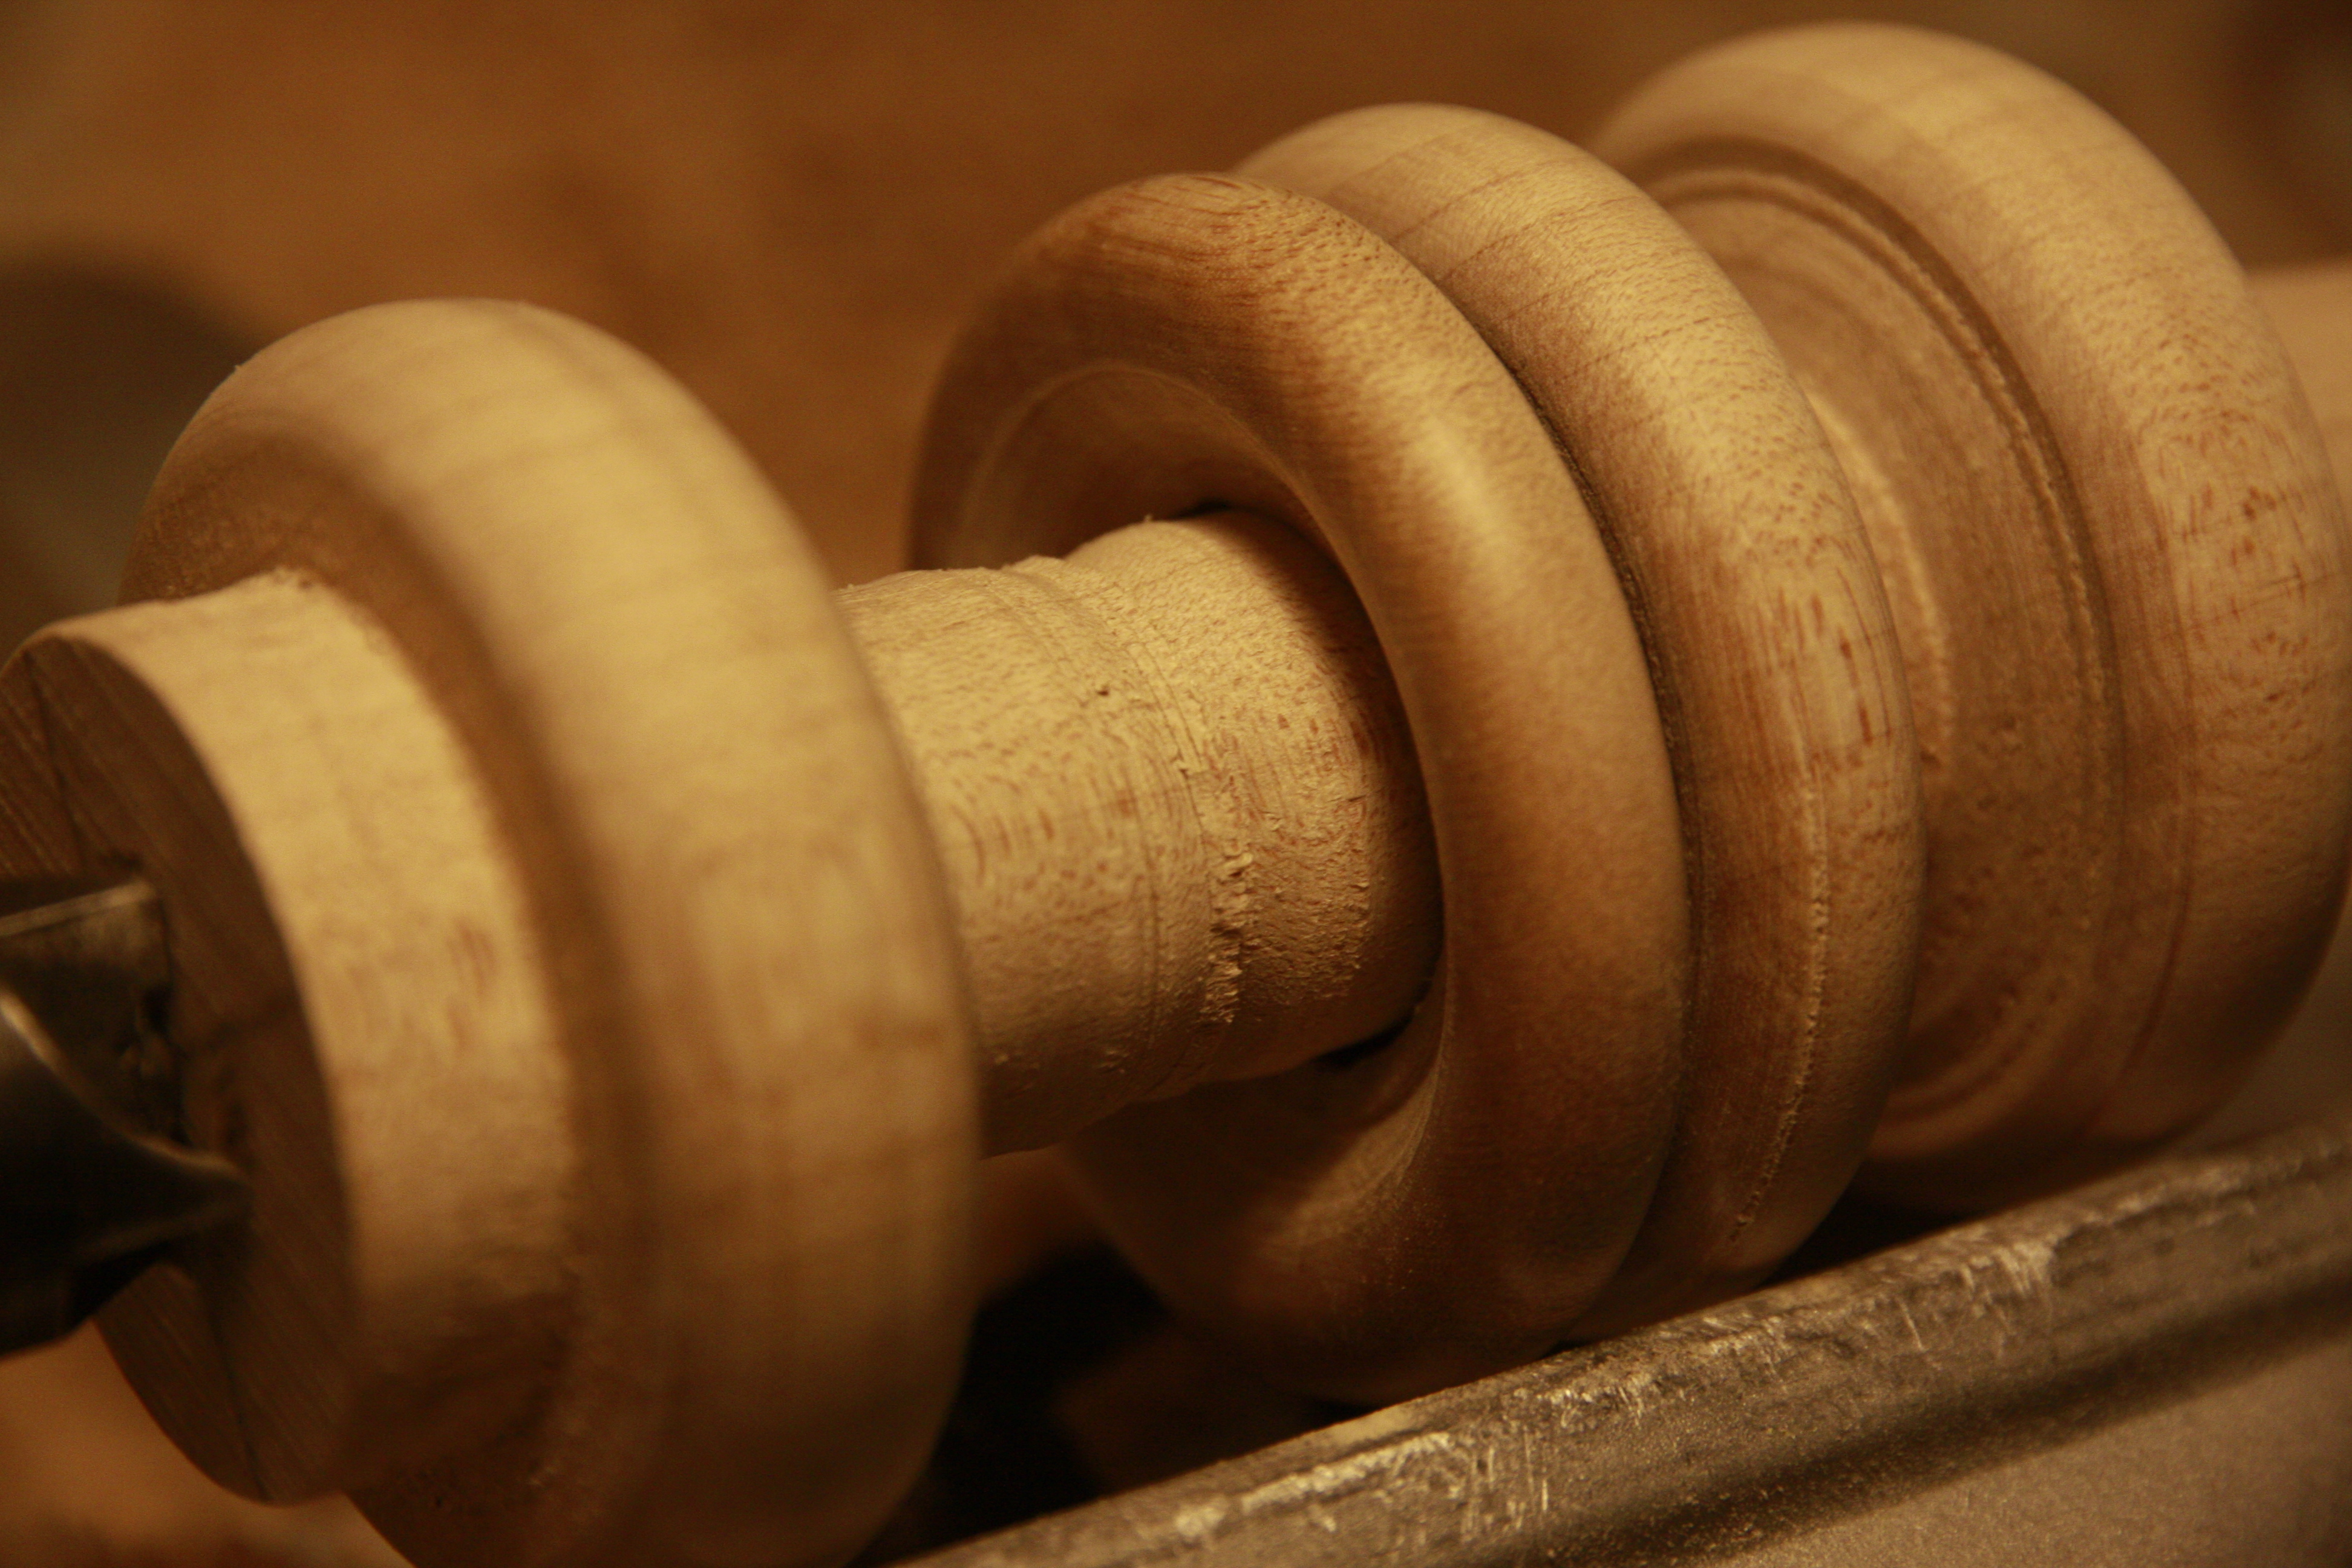
Next came the tricky part of creating the ring. Since the ring is easier to work with whilst it’s still attached to the main body, it’s important to finish it as much as possible boer cutting it free. I created the outs profile the cleared as much of the surrounding wood a possible, up to the designed profile. Making room in this way makes it much easier to undercut the ring and get the maximum undercut, reducing the amount of sanding needed later and making the ‘trick’ ring look more impressive.it also reduces the finger trap hazard as a baby mighty able to get their fingers trapped under the ring.
With the ring profiled and undercut, I then sanded it and waxed it (beeswax, food safe but not the most robust finish)
The ring was then broken free and the ridge left behind removed.
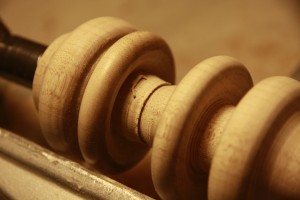
The ring can now be taped to one side or left to rattle whilst the rest of the piece is finished.
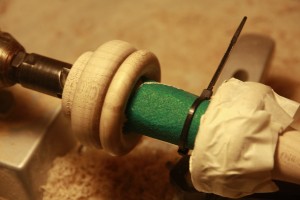
With the ring and rattle body shaped, sanded and waxed, the next step is to part it off, removing the stubs that connect it to the chuck and live centre. The small, newly cut face is then sanded and waxed.
I was very happy with the look, feel and sound of the finished rattle.
I love carpentry and these kind s of sites are really useful for me.
I really like these types of sites since i can find out about my passion woodworking and building game tables..